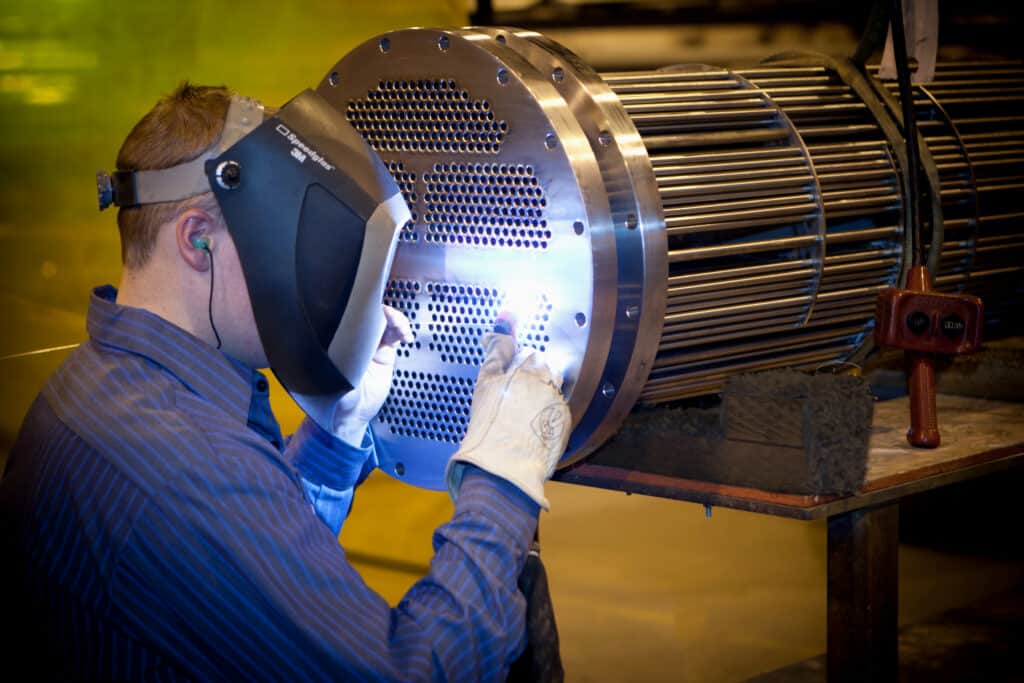
Every shell and tube heat exchanger will have two fluids: one on the tubeside and the other on the shellside. Chances are, you carefully considered your options for fluids and came to a conclusion based on the needs of your process and the properties of your choices.
You should take the same thoughtful deliberation when deciding which fluid to put on the shellside and which to the tubeside. The location for each makes a big difference in the effectiveness of heat transfer, maintenance needs and the cost of the exchanger and any replacements.
Tubeside or shellside? Ask yourself these five questions.
1. Which fluid is more likely to foul?
Preventing fouling is one of every shell and tube heat exchanger engineer’s main goals. Measures are taken in the design, materials of construction, fluid selection and cleaning schedule to reduce the chances of fouling. The same should go in decisions surrounding fluid allocation.
Though fouling should be avoided, it will inevitably happen sooner or later. When it does, you want to make sure cleaning the exchanger is as easy as possible. In most shell and tube heat exchangers, cleaning the tubes is easier than the shell. Therefore, putting your fluid that’s more likely to foul on the tubeside is generally a smart idea.
Of course, this depends on the heat exchanger design. U-tubes are typically more difficult to clean than straight tubes. However, it’s often easier to reach the shell’s interior for cleaning in these models. So, in exchangers with this configuration, the fouling fluid may be better off on the shellside.
2. Which fluid is more corrosive?
 If you’re working with corrosive fluids, it’s important to minimize their effect on the shell and tube heat exchanger. This starts with materials of construction – stainless steel fabrication tends to hold up better to common corrosive fluids than carbon steels.
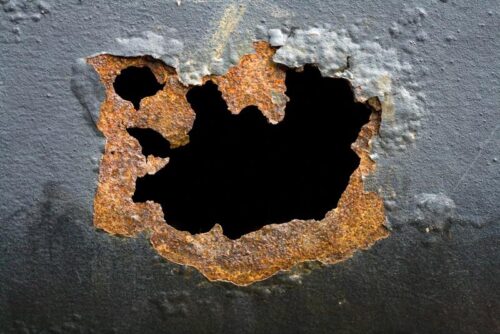
However, when working with these types of fluids, they will eventually take a toll on the metal. When that happens, you may need to replace the corroded parts of the exchanger. It’s generally easier and less expensive to replace the tubes. Replacing the shell often means replacing the whole exchanger. Because of this, putting the more corrosive fluid on the tubeside can help minimize damage and costs over time.
Smart Process Design, a chemical engineering blog, pointed out that this also allows fabricators to use different materials of construction for the tubes and the shell, with the more resistant metal used for the tubes.
3. What states are the fluids in?
Fluids that are or will become vapors inside the heat exchanger should generally be allocated to the shellside because they have a larger volume and a lower heat-transfer coefficient. This will maximize its heat-transfer coefficient and lower the pressure drop.
However, vapors that won’t condense may be better off on the tubeside so they won’t become lost or stagnant in the shell’s recesses, which can bring down heat transfer efficiency.
For fluids that could solidify, it’s best to keep them on the tubeside. That way, should the fluid freeze up, the tubes can be mechanically cleaned, or removed and replaced if necessary. If the frozen fluid were on the shellside, it’d be very challenging to remove the tubes and could require an all-out replacement of the equipment.
4. Which fluid has the highest pressure?
High-pressure fluids generally need to be contained by thicker metal walls. Building thicker tubes will require less metal than building a thicker shell, and therefore is less expensive. As such, allocating your highest pressure fluid to tubeside can help keep exchanger costs down.
5. How viscous are the fluids?
Generally speaking, more viscous fluids should go on the shellside because these fluids typically have a low heat-transfer coefficient. Putting them on the shellside can maximize heat exchange efficiency. When using this strategy a staggered tube configuration can further improve heat transfer capabilities, as this will promote greater turbulence.
Viscous fluids also tend to have a higher pressure drop. This further supports putting them on the shellside as a way to minimize the drop, but also necessitates some careful considerations. A fluid with a high pressure drop is more likely to bypass the baffles, which will hurt the heat transfer rate. It can also increase the probability for vibration issues. It’s important to get in front of vibration issues as early as possible, even making adjustments in the design phase as a preventative measure.
Fluid allocation begins with design
The right fluid allocation isn’t always obvious. There are multiple considerations to take into account, and some fluid combinations might pose conflicting factors; if both fluids would be better served on the shellside, you’ll still need to choose which one to put through the tubes.
Knowing which fluids you’ll be using in your shell and tube heat exchanger ahead of the design phase can help immensely in fabricating a custom piece of equipment specifically made for your processes. This will help identify potential fouling, vibration or corrosion issues and work to prevent them from the very beginning.
When you work with the engineers at Enerquip, you’ll be partnering with a knowledgeable team who loves to solve problems. Reach out to request a quote today.
More from the Enerquip Blog
- Horizontal vs. Vertical Baffles: Which to choose for your shell and tube heat exchanger
- How Steam Bustles Improve Efficiency in Shell and Tube Heat Exchangers
- Floating Tubesheet Style Straight Tube Exchangers – Advantages and Types
- Immersion Heaters – Whitepaper
- Shell-Side Fluid Challenges: Increasing the Pressure Drop

